•If a task does not contain any uploaded reports:
1.Open the task page.
2.Click Create FixIt! tool.
3.(Optional) Change FixIt! tool settings. To do this, click Settings in the bottom right corner of the FixIt! tool panel and specify the settings.
4.(Optional) On the FixIt! tool panel, enter the commands you want to add to the script.
5.Click Create FixIt! tool.
•If a task contains uploaded reports:
1.Open the task page.
2.Open a report from the list.
3.At the left, select FixIt! tool.
4.(Optional) Change FixIt! tool settings. To do this, click Settings in the bottom right corner of the FixIt! tool panel and specify the settings.
5.(Optional) On the FixIt! tool panel, enter the commands you want to add to the script.
6.Click Create FixIt! tool.
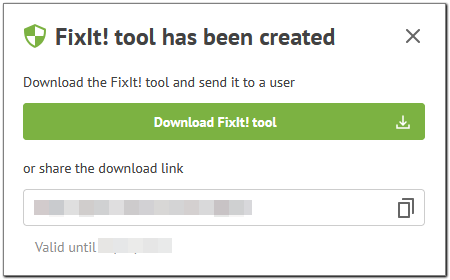
Once a FixIt! tool is created, a pop-up window appears allowing you to select how to deliver the tool to the scanned computer’s user.
•If you want to save the tool to your computer and send it to a user of the scanned computer, click Download FixIt! tool and send the downloaded file.
•If you want a user of the scanned computer to download the tool, copy the link by clicking the icon and send it to the user.

Figure 12. FixIt! tool has been created