Anti-spam


|
Anti-spam |
|
|
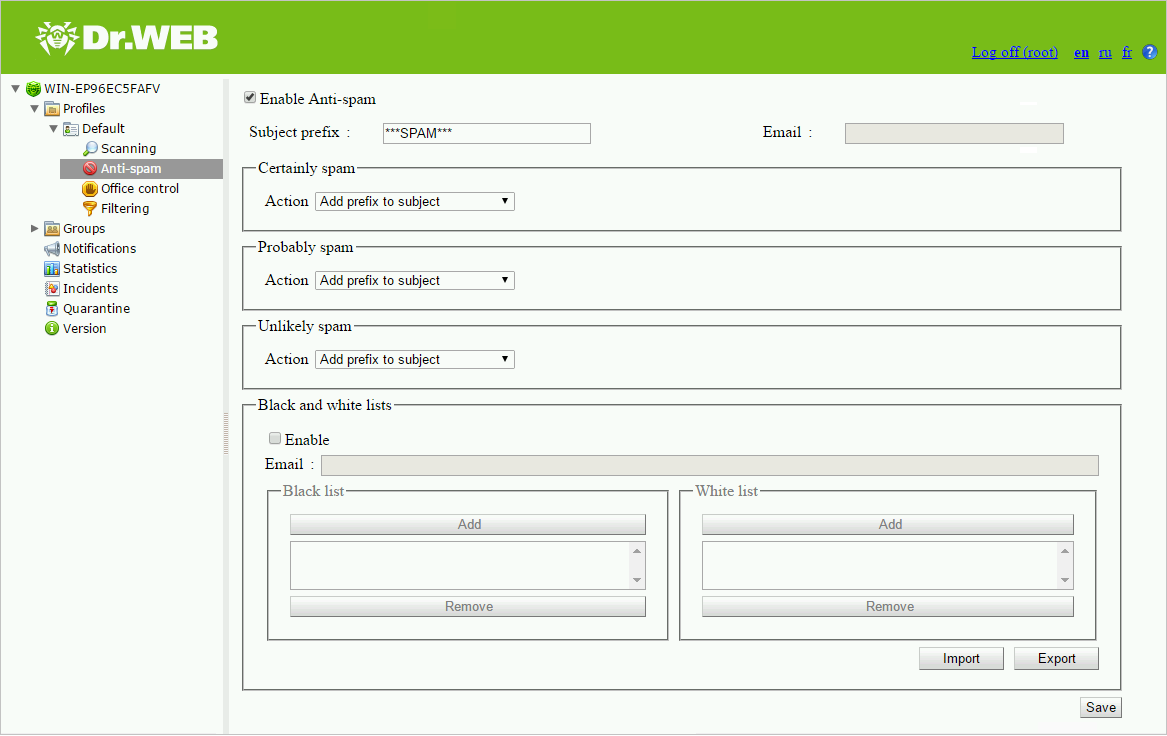
The Anti-spam component analyzes contents of email messages. The component concludes whether a message is spam on not following the results of this analysis. The Anti-spam component is configured in the Anti-spam section of the profile settings. Please note that it is available only with the Anti-Virus&Anti-Spam version of Dr.Web. If your license covers the Anti-spam component, then the spam filtering option will be enabled automatically. You can check it in the Anti-Spam section (the Enable Anti-spam check box will be selected).
Configuring the Anti-spam Component 1.Click Anti-spam in the tree pane. The Anti-spam settings area will open (see Figure 7). Figure 7. Anti-spam settings area 2.Select the Enable Anti-spam check box to enable spam filtering (if disabled). To disable spam filtering, clear the check box. Once the check box is cleared, all parameters become unavailable for editing. 3.In the Subject prefix field, you can change the prefix, which will appear the subject of email messages that the application will detect as spam. The default prefix is ***SPAM***. 4.According the received data, when the application detects spam, it may treat it as Certainly spam, Probably spam or Unlikely spam. For each of these three categories, you can specify an action. To do so, select one of the following actions for each category: •Ignore means that the message will be delivered to the recipient. •Add prefix to subject means that the prefix defined in the Subject prefix field will be added to the message subject. •Put the stamp Move to junk means that the message will be delivered to the recipient but will be marked with the stamp Move to junk. •Redirect means that the message will be redirected to another recipient. •Block means that the message will be blocked and will not be delivered. 5.In the Black and white lists section you can configure a list of trusted and suspicious email addresses. •Select Enable to enable the use of the lists. You can add email addresses you trust to the white list. In this case, messages from these addresses will not be checked for spam. If you add an address to the black list, all messages from it will be considered as Certainly spam. •To add an address to the list, enter it in the Email field and click Add on the section of the white or black list. The address will be added to the selected list. •To delete an address from the list, select it and click Remove on the section of the list this address is included in. •You can use the Import and Export buttons to save the list into a special file with .lst extension or to load the lists from the file and to create or edit the lists manually using a text editor. The created text file must be saved with .lst extension in Unicode format.. 6.When you finish configuring the settings of the Anti-spam component, click Save. |