To install Dr.Web for Kerio MailServer, do the following:
| 1. | Allow execution of the drweb-kerio_6.0.2.[patch]-[build]~linux_x86.run archive (where [patch] is the number of patch, [build] is the number of program build, e.g., drweb-kerio_6.0.2.0-1109201904~linux_x86.run). You can use the following command: |
# chmod +x drweb-kerio_6.0.2.[patch]-[build]~linux_x86.run
| 2. | Execute the file by the command: |
# ./drweb-kerio_6.0.2.[patch]-[build]~linux_x86.run
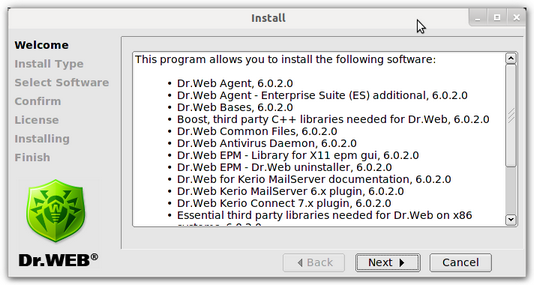
| 3. | The drweb-kerio_6.0.2.[patch]-[build]~linux_x86 directory will be created. This directory contains a set of installation files. Then the GUI installer will start (see Figure 1). |
Figure 1. GUI installer welcome page
To navigate between installation pages, use the Back and Next buttons. To cancel the installation, click Cancel on any step.
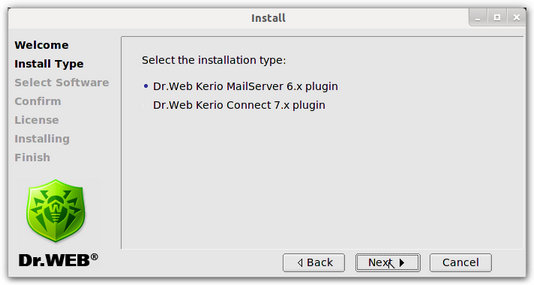
| 4. | On the Install type page (see Figure 2), select the installation package depending on the Kerio mail server version. Click Next. |
Figure 2. Installation package type selection
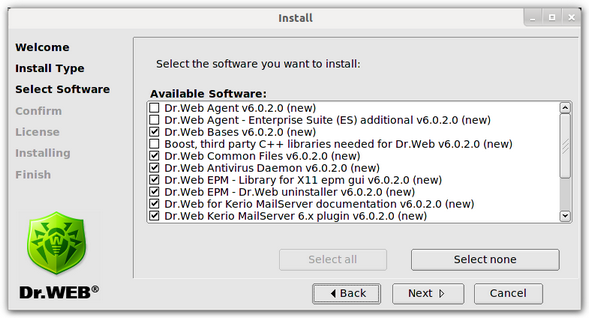
| 5. | On the Select Software page (see Figure 3), select the components to install. |
Figure 3. Select components to install
|
If the installation of a component requires other components to be previously installed, all corresponding dependencies are selected for installation automatically. For example, if you select to install Dr.Web Antivirus Daemon, then Dr.Web Bases and Dr.Web Common Files are selected and installed automatically. |
To select all components, click Select all. To clear all check boxes, click Select none. Click Next when you are done with selecting components to install.
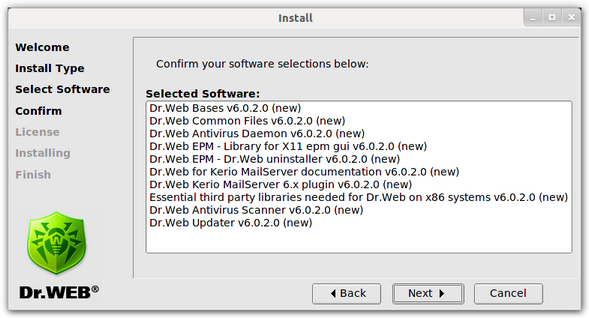
| 6. | On the Confirm page (see Figure 4), review the list of selected components and confirm their installation by clicking Next. |
Figure 4. Confirmation of the components installation
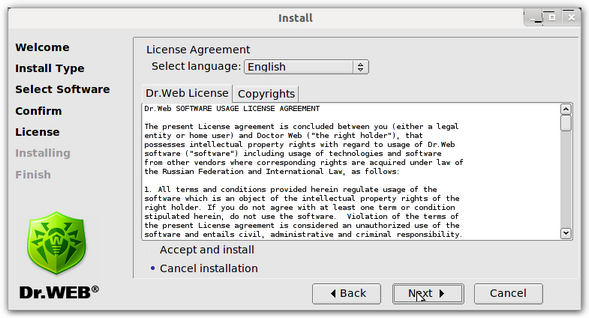
| 7. | On the License page (see Figure 5), read the License Agreement (you can select the License Agreement language in the Select language list). Further installation requires the License Agreement acceptance. Click Next. |
Figure 5. License Agreement
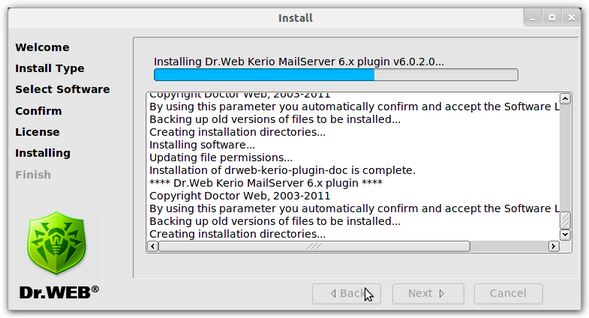
| 8. | The installation of Dr.Web for Kerio MailServer starts. The installation report is shown in the Installing window (see Figure 6) in the real-time mode. |
Figure 6. Installation progress window
| 9. | If the program is successfully installed, the Installation complete notification opens. Then you can agree to configure the program components. The following actions will be performed: |
| • | The program license key file will be copied to the /opt/drweb directory |
| • | The path to the key file will be written to Dr.Web Agent and daemon (drwebd) configuration files |
| • | The automatic launch will be configured for Dr.Web Monitor and drwebd |
| • | Dr.Web Monitor, drwebd and drweb-kerio-webstatd daemons will be launched |
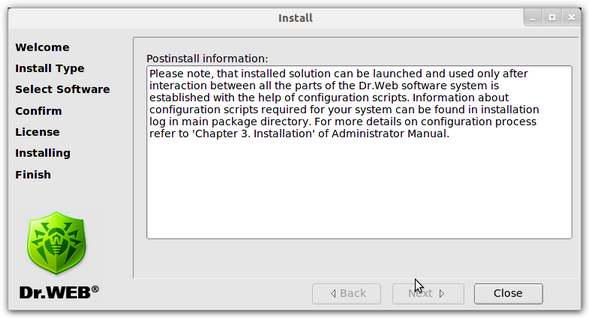
| 10. | On the Finish page (see Figure 7), click Close to exit the GUI installer. |
Figure 7. Installation finish window
