|
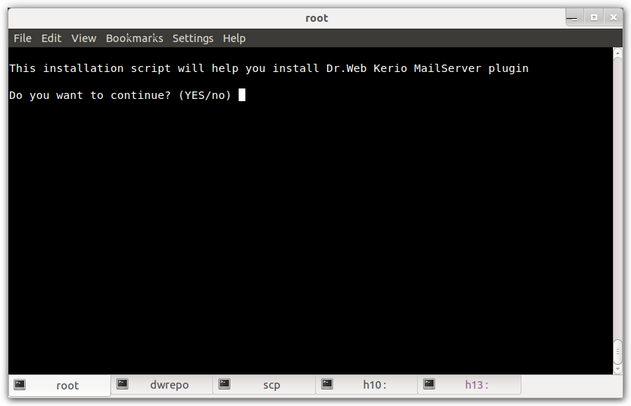
Dr.Web for Kerio MailServer can be installed without use of GUI installer. Usually, console installer(see Figure 8) starts automatically is graphical installer fails to start.

Figure 8. Program installation from the console
| 1. | To proceed with Dr.Web for Kerio MailServer installation, enter Y or Yes (values are case insensitive), otherwise type N or No. Press ENTER. |
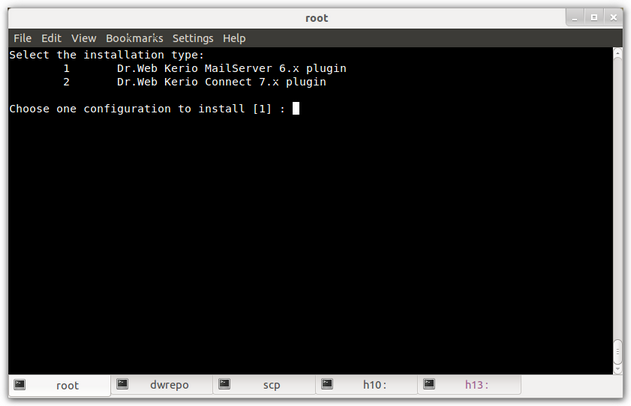
| 2. | Then select the installation package depending on the Kerio mail server version you are using (see Figure 9). Enter the number of the corresponding package and press ENTER. |

Figure 9. Installation package selection
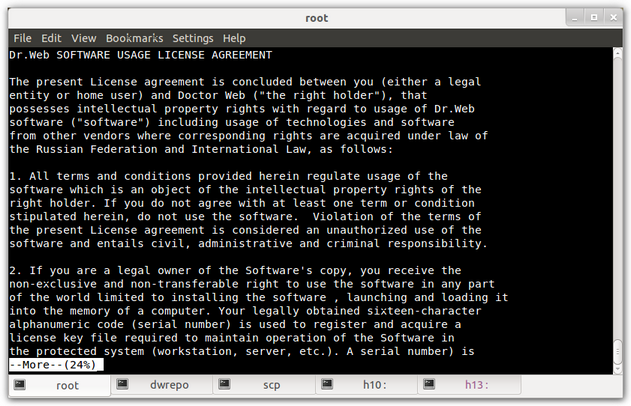
| 3. | Read carefully the License Agreement (see Figure 10). To scroll the text, press SPACEBAR. Further installation requires the License Agreement acceptance. Enter Y or Yes and press ENTER. Otherwise the installation is canceled. |

Figure 10. License Agreement
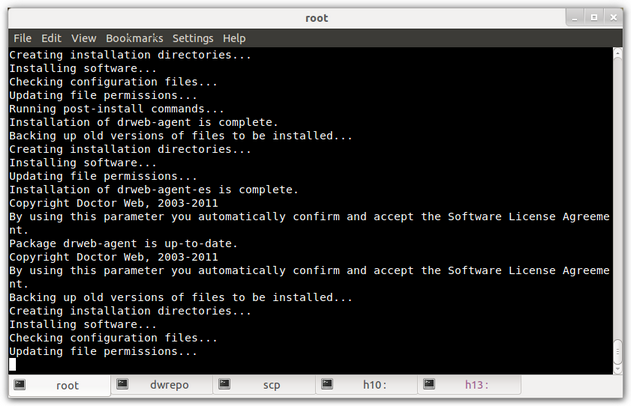
| 4. | The installation of Dr.Web for Kerio MailServer starts. The installation progress report is shown on the screen in the real-time mode (see Figure 11). |

Figure 11. Installation progress
| 5. | Then you can agree to configure the program components. The following actions will be performed: |
| • | The program license key file will be copied to the /opt/drweb directory |
| • | The path to the key file will be written to Dr.Web Agent and daemon (drwebd) configuration files |
| • | The automatic launch will be configured for Dr.Web Monitor and drwebd |
| • | Dr.Web Monitor, drwebd and drweb-kerio-webstatd daemons will be launched |
| 6. | The message informing about the installation completion will open. |
| 


