Upon its startup, the installation program checks if there are any problems that can cause errors in Dr.Web for Linux operation or can render it inoperable. If such problems are found, an appropriate message is displayed on the screen listing the issues. You can cancel the installation by clicking Exit and resolve the problems. In this case, you will need to restart the installation program afterwards (after required libraries are installed, SELinux is temporarily disabled, and so on). However, you may choose not to cancel the installation of Dr.Web for Linux by clicking Continue. After you click the button, the process starts and the window of the installation wizard is displayed. In this case, you will need to resolve the problems after the installation completes or if errors in Dr.Web for Linux operation occur.
After the installation program for graphics mode starts, a window of the Installation Wizard displays.
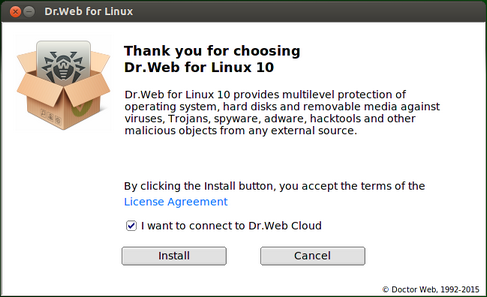
Picture 2. Welcome page
To install Dr.Web for Linux on your computer, do the following:
1.View the terms of the Doctor Web License agreement. For that purpose, click the License Agreement link. A page with the License agreement text and copyright information for the installed components opens.
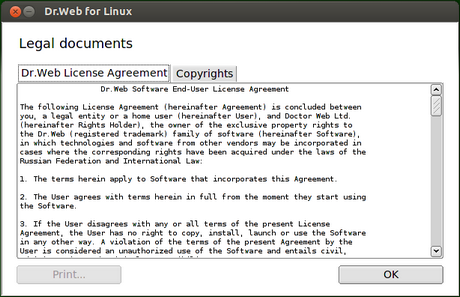
Picture 3. License Agreement page
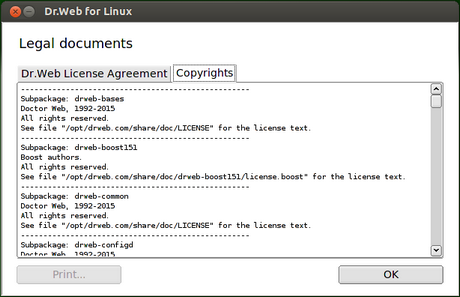
Picture 4. Copyright information page
When required, if a printer is installed and configured in your system, you can print off the License agreement terms and copyright information. To do that, open the corresponding tab of the License agreement page and click the Print button.
To close the page, click OK.
2.Before the setup starts copying files, you can enable Dr.Web for Linux to connect to Dr.Web Cloud automatically after the installation. To do so, enable the corresponding option (when you start the wizard, the option is enabled by default). If you do not wish Dr.Web for Linux to use the service Dr.Web Cloud, clear the check box. If necessary, you can allow Dr.Web for Linux to connect to the Dr.Web Cloud service in the program's settings at any time.
3.To continue the installation, click Install. By doing so, you also accept terms of Doctor Web License agreement. If you choose not to install Dr.Web for Linux on your computer, click Cancel. Once the button is clicked, the Installation Wizard exits.
4.After installation starts, a page with the progress bar opens. If necessary, you can click Show Details and view the installation log file.
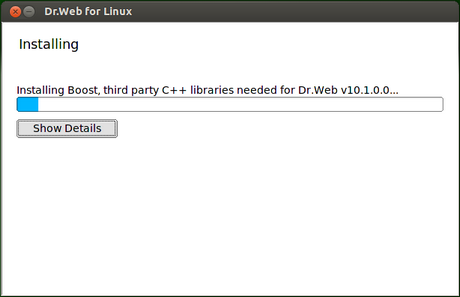
Picture 5. Installation progress bar

Picture 6. Viewing installation log file
5.After program files are successfully copied and all required adjustments to system files are made, the final page with the installation results displays.
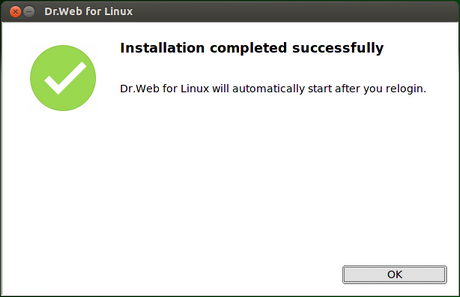
Picture 7. Installation results page
6.To exit the Installation Wizard, click OK. If the desktop environment you are using supports this feature, in the final installation step you will be prompted to launch Dr.Web for Linux in graphics mode. To run the program after installation, select the Run Dr.Web for Linux now check box and click OK.
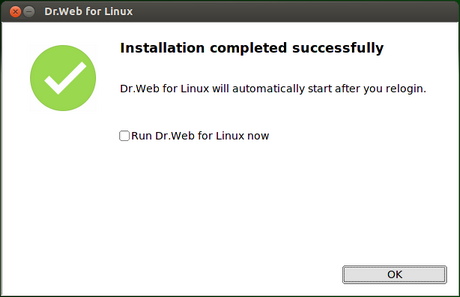
Picture 8. Selected option to start the program
If the installation process fails due to an error, the final page of the Installation Wizard will contain the corresponding message. In this case, exit the Installation Wizard, remove the problems that caused this error and start an installation procedure again.