In the Devices window you can restrict access to certain devices or buses and configure the list of allowed devices.
|
Device access parameters are applied for all Windows accounts. |
To open the Devices window
1.Open Dr.Web menu ![]() , then select Security Center.
, then select Security Center.
2.In the open window, click Devices and Personal Data tile.
3.Make sure Dr.Web operates in administrator mode (the lock at the bottom of the program window is open ![]() ). Otherwise, click the lock
). Otherwise, click the lock ![]() .
.
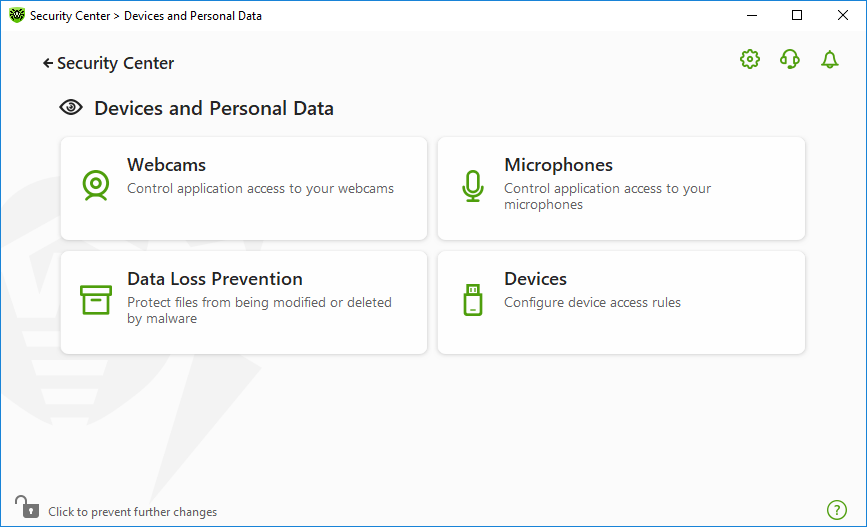
4.Click the Devices tile.
|
Depending on settings of your provider, Devices tile can be displayed on the Security Center window. |

Figure 84. Access to the Devices window
In this section:
•Device classes and buses blocking
•Configuring the list of allowed devices
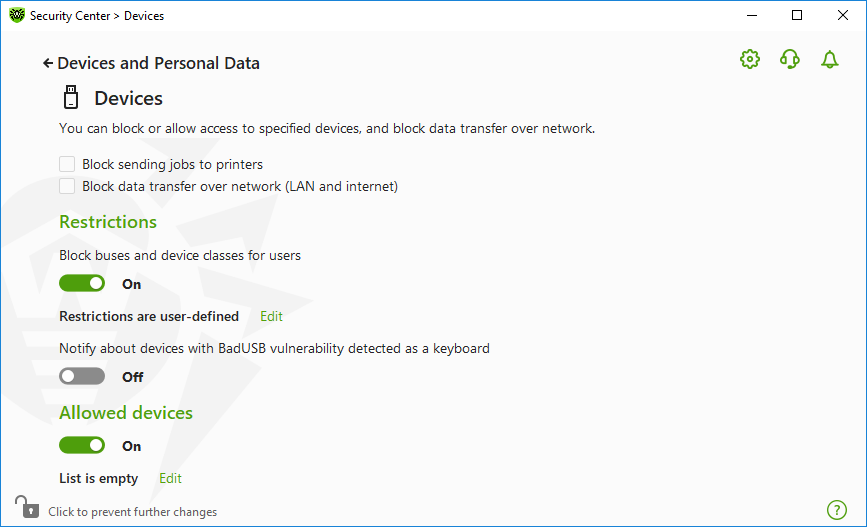
You can enable the corresponding settings to:
•Block sending jobs to printers.
•Block data transfer via local networks and the internet.

Figure 85. Device blocking parameters
All options are disabled by default.
|
The Block removable media option is only available to the users who had it enabled before the product components were updated on 2/2/2022. If you were not using this option or are installing the product for the first time, use the Block buses and device classes for users option to prevent access to data on removable media. |
Restrictions
The function of device blocking allows you to block one or several device classes on all the buses and also to block all the devices connected to one or several buses. Device classes are all devices that perform the same functions (e.g., printing devices). Buses are communication subsystems for transferring data between functional units of the computer (for example, the USB).
To block access to the selected device classes or buses
1.Enable the Block buses and device classes for users option by using the switcher ![]() .
.
2.Click Edit link.
3.In the open window, you can select device classes or buses that you want to restrict access to.
Notification on BadUSB vulnerable devices
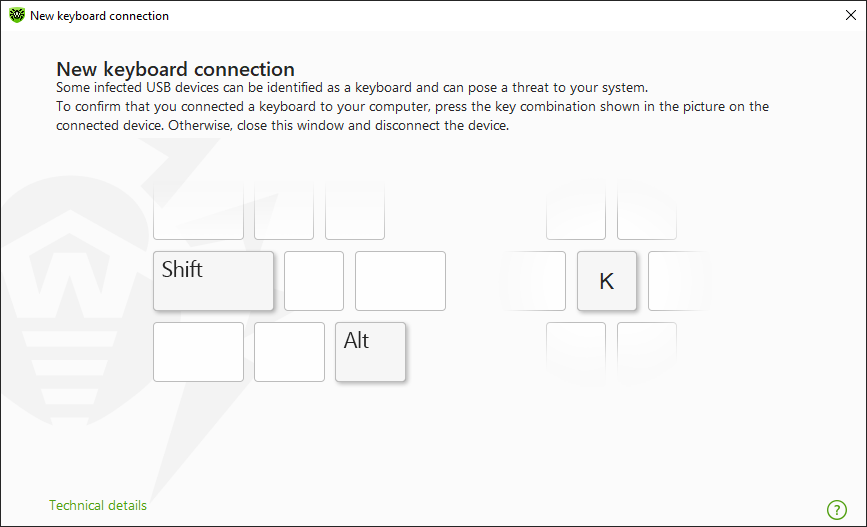
Some of the malicious USB devices can be identified by your computer as a keyboard. If you want Dr.Web to check whether the connected USB device is a keyboard, enable the Notify about devices with BadUSB vulnerability detected as a keyboard option. In this case, when a keyboard is connected, you are prompted to press the specified keys.

Figure 86. Keyboard unblock window
When you click the Technical details link, a window with a detailed information on the device opens.
After you restrict access to some buses or device classes, you can allow access to certain devices by adding them to the list of allowed devices. You can also add a certain device to this list if you do not want it to be checked for BadUSB vulnerability.
To add a device to the list of allowed devices
1.Enable the Allowed devices option by using the switcher ![]() .
.
2.Click Edit (the button is available if any restrictions are set).
3.In the open window, you can generate a list of devices to which the access restrictions are not applied.