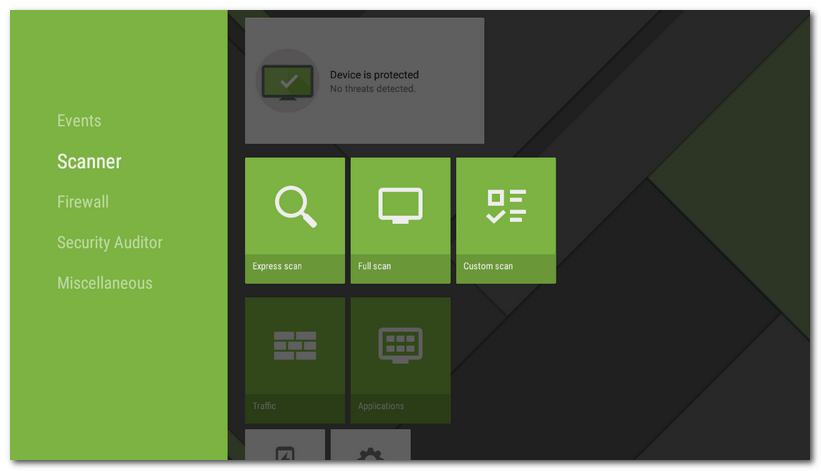
Dr.Web Scanner scans files on your device upon your request. It performs express or full check of the whole file system or scans critical files and folders only.
You should periodically scan the system, especially if SpIDer Guard has not been active for a while. Usually, the express scan is sufficient for this purpose.
Scanning
To scan the system, on the Dr.Web main screen, select Scanner (see Figure 37), and then one of the following options:
•Express scan. Scan only installed applications.
•Full scan. Scan all system files.
•Custom scan. Scan individual files and folders. You will need to select an object you want to scan.
To scan the whole folder, select the Scan folder option. To go up a level, select Up.
If your device is rooted, you can also scan the /sbin and /data folders located in the root directory.
After the scanning is finished, the following information is shown:
•Number of scanned objects.
•Number of detected threats.
•Start time.
•Scan time.
To open check results, select OK.
Dr.Web Scanner settings
To access Dr.Web Scanner settings, open the Dr.Web main screen and select Miscellaneous > Settings > Scanner (see section Dr.Web Settings on Android TV).
Statistics
The application registers events related to the operation of Dr.Web Scanner (scan type, check results, and detected threats). All registered actions appear on the Events section on the Statistics tab and are sorted by date (see Statistics).
