History contains information about file analyses that have been performed before. The history section is located on the main page below the file uploading section.
History allows you to:
•Search for a string, filter and sort entries.
•Check the progress of the ongoing analysis.
•View, delete, and download reports of analyzed files.
•Download the Dr.Web CureIt! utility for malicious files.
History management
To set a number of entries displayed on one page
•Click the drop-down menu below the table.
To sort entries
•Click the corresponding column title.
You can sort entries by file name or date.
To filter entries
•Type a string into the search box. Search is done through all table columns.
•Click History for filtering by file type.
To select which columns to display
•Click ![]() in the right corner of the table.
in the right corner of the table.
•Select the columns you want to display.
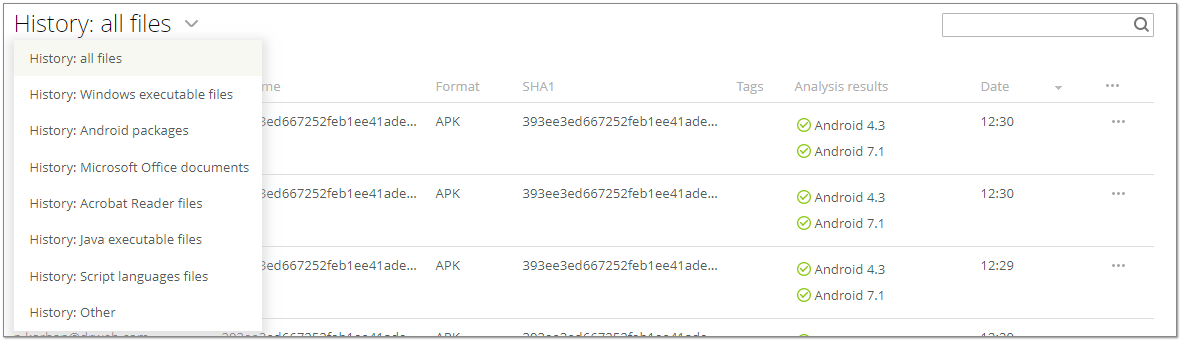
Figure 14. Selecting file type
To open a page with analysis report
•Click the corresponding file name.
To download analysis report
•For the corresponding file, hover over the sign ![]() and select Download archive.
and select Download archive.
The detailed report will be downloaded as a ZIP archive. The option is available if the report retention period is not expired yet.
To download the Dr.Web CureIt! utility
•For the corresponding file, hover over the sign ![]() and select Download CureIt!.
and select Download CureIt!.
The utility is generated specially for this particular file. The option is available for malicious files only.
To remove analysis report
•For the corresponding file, hover over the sign ![]() and select Remove report.
and select Remove report.
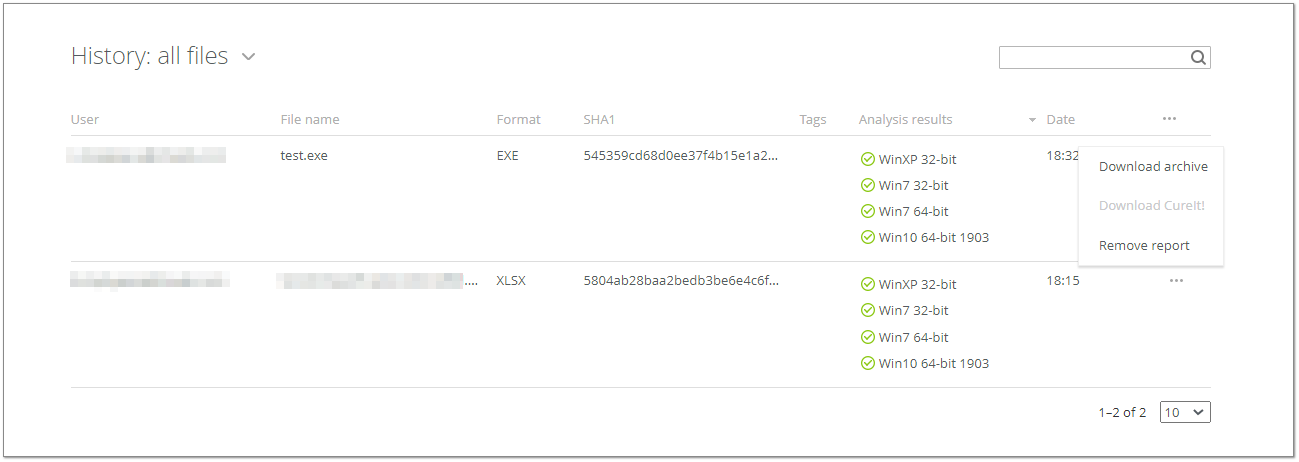
Figure 15. Actions available in the History section