Dr.Web Scanner checks the system at user request. You can run an express or full scan of the whole file system or scan critical files and folders only.
|
Both administrators and users can detect and neutralize threats only in the system areas they have read and modify permissions for. |
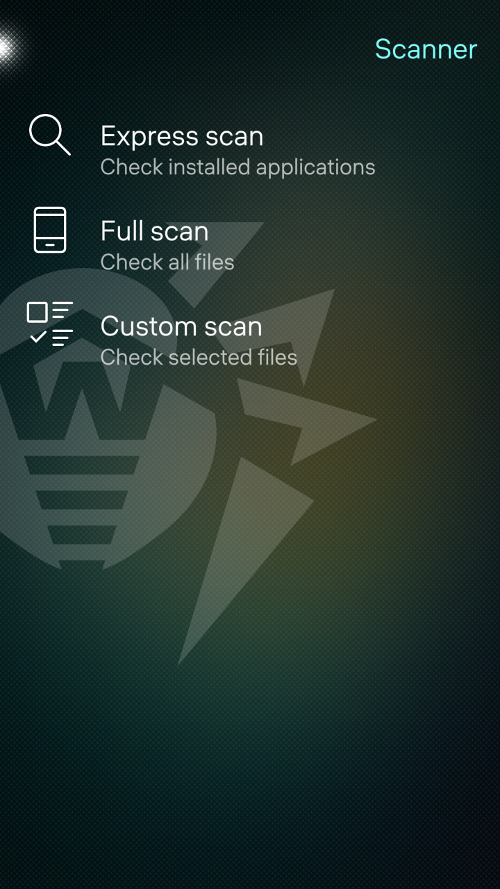
Figure 13. Dr.Web Scanner
To scan the system, touch the Scanner option on the main page, then on the next page (see Figure 13) select one of the following actions:
•To only check installed applications, touch the Express scan option.
•To scan all files on your device, touch the Full scan option.
•To scan only some files and folders, touch the Custom scan option. On the next page, select file system objects from the list (see Figure 14). Then touch Scan.
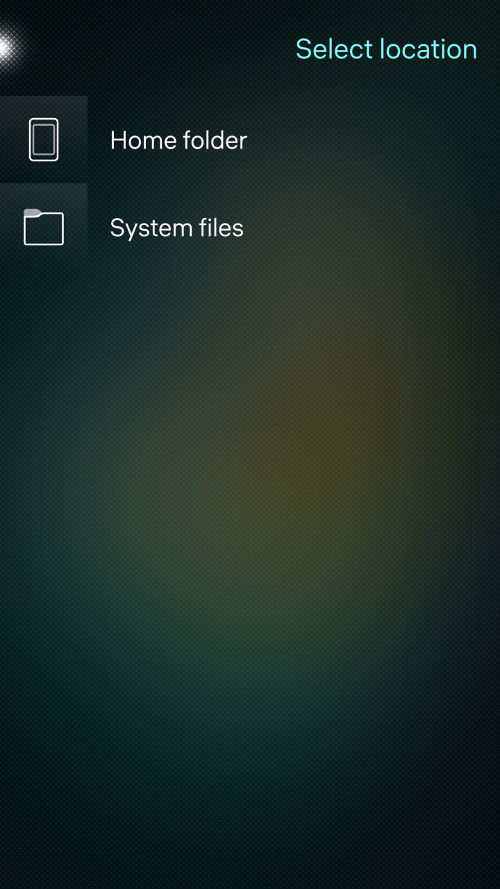
Figure 14. Custom scan
To stop scanning
1.With a fast motion, pull the page down or pull the page down without lifting your finger.
2.Touch Stop scanning (see Figure 15).
3.Confirm the action.
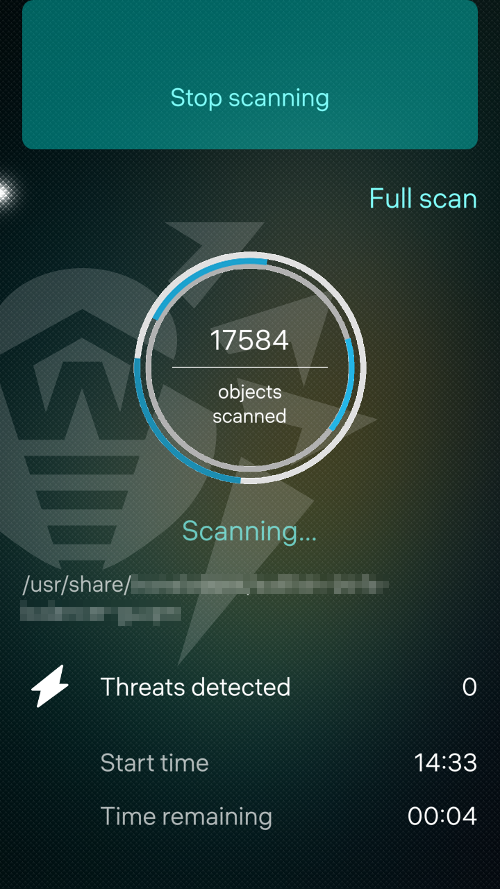
Figure 15. Stop scanning
You can change Dr.Web Scanner settings (see Scanner Settings).
The application registers events related to the operation of Dr.Web Scanner. They appear in the Events subsections on the Statistics page and are sorted by date (see Statistics).
Scan results
Once a scan is completed, you can view scan results by touching Tap to neutralize (see Figure 16) or touching the dot in the upper-left corner.
If you close the app while scanning, touch the cover to return to the Scan completed page and proceed to the scan results.
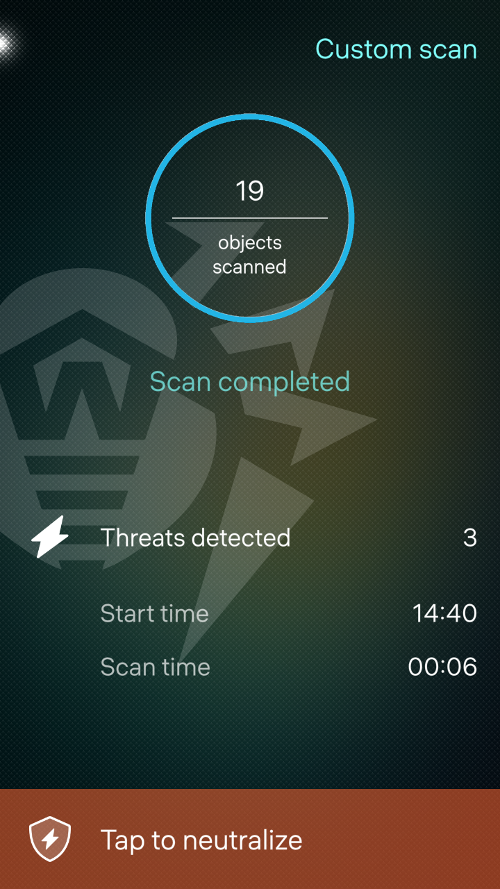
Figure 16. Scan completed
Scan results are available on the Threats page, where you can view the list of detected threats and neutralize them.
Neutralizing all threats at once
To delete all threats at once
1.With a fast motion, pull the Threats page down or pull the page down without lifting your finger.
2.Select Delete all (see Figure 17).
To quarantine all threats at once
1.With a fast motion, pull the Threats page down or pull the page down without lifting your finger.
2.Select Move all to quarantine (see Figure 17).
|
System threats cannot be deleted or quarantined as it can negatively affect the functionality of your device. |
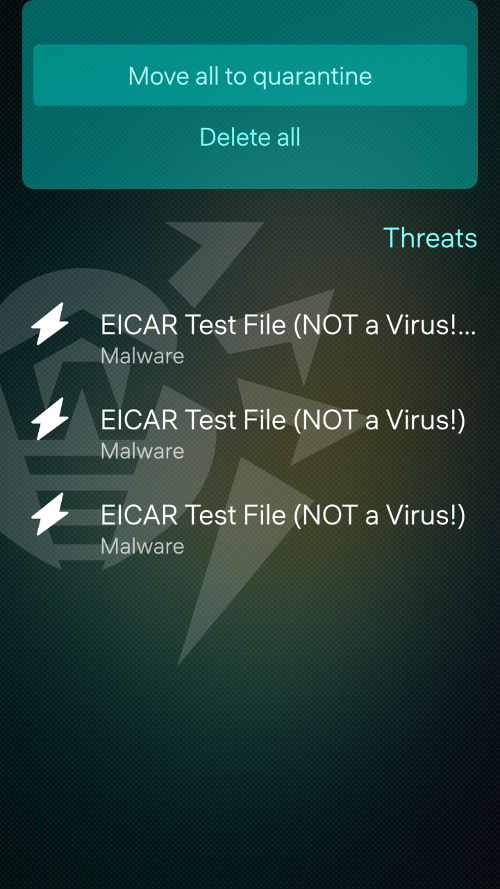
Figure 17. Neutralizing threats
Neutralizing one threat at a time
To view the available actions for each threat, touch and hold the name of a threat on the list. Select one of the actions:
• Move to quarantine to move the threat to an isolated folder (see Quarantine).
• Delete to erase the threat from the device memory. If the threat is detected in an installed application, deletion is not possible. Thus, the Delete action is not on the list.
• Ignore to temporarily leave the threat as it is.
• Learn more to view a description of the detected threat on the Doctor Web website.