This section is for users of scanned computers. |
А FixIt! tool does not require installation. To start work, simply run the executable tool file on a computer you need to scan. You can also launch scanning a computer with a FixIt! tool from command line.
To scan a computer with a FixIt! tool
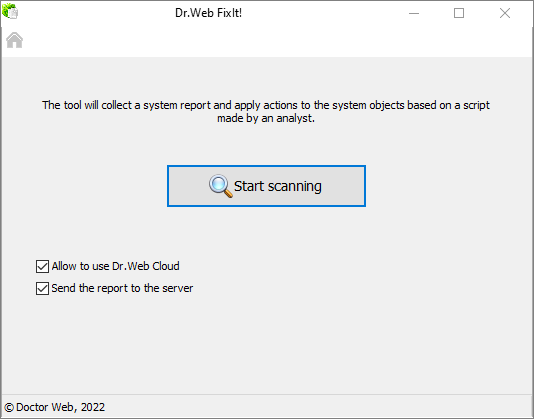
1.Run the FixIt! tool executable file on your computer. The FixIt! tool home screen appears.
2.(Optional) Change the default report settings and path to a folder where the report should be saved.
3.Click Generate report. The tool will collect information about your computer.

Figure 16. FixIt! tool home screen
If you need to stop collecting data, click Cancel. A terminated process cannot be resumed, so you will have to run the FixIt! tool again.
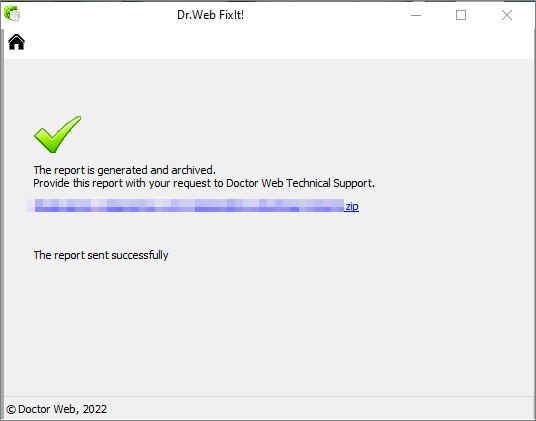
Once the scanning is done, a FixIt! tool will generate a ZIP archive containing the report in the folder specified in the report settings. The default path is C:\Users\<User>\Doctor Web. A text file with the .zip_password.txt extension containing a ZIP-archive password is saved to the same folder. The link to the file is displayed in the FixIt! tool window.

Figure 17. The link to the created report
Before running a FixIt! tool, you can choose the data included in a report. To do this, run the executable FixIt! tool file on the scanned computer, click Report settings in the lower part of the FixIt! tool home screen and select the check boxes next to the data categories you want to include.
Additionally, you can specify a path to a folder where a ZIP archive containing a report should be saved. To do this, click Browse, choose the needed folder, then click OK.
Script
If you received a script from an operator, run it along with a FixIt! tool.
To run a script along with a FixIt! tool
1.Run a FixIt! tool executable file on your computer. The FixIt! tool home screen appears.
2.(Optional) Change the default report settings and path to a folder where the report should be saved.
3.Click Execute script and choose the script file that an operator sent to you. The FixIt! tool will automatically run together with the script.
FixIt! tool launch from command line
You can initiate a computer scan with a FixIt! tool from command line using the following arguments:
Argument |
Description |
|---|---|
-auto |
Launch via command line. Omitting this argument will result in the tool starting with a graphical user interface. |
-report |
Full path to the directory that will store the zipped report. Omitting this argument will result in the report saving in the default directory (С:\users\<user_profile>\Doctor Web). |
Example of FixIt! tool launch from command line
<tool_name>.exe /auto /report:C:\report.zip |