The FixIt! tool collects system data and generates a detailed report.
To receive the first report within a task, create a FixIt! tool. You can add curing commands to the FixIt! tool after receiving a report and analyzing the data to remedy problems and neutralize threats on the scanned computer (see Tool commands).
FixIt! tool configuration
When creating a FixIt! tool for data collection, you can configure its settings (see Figure 12).
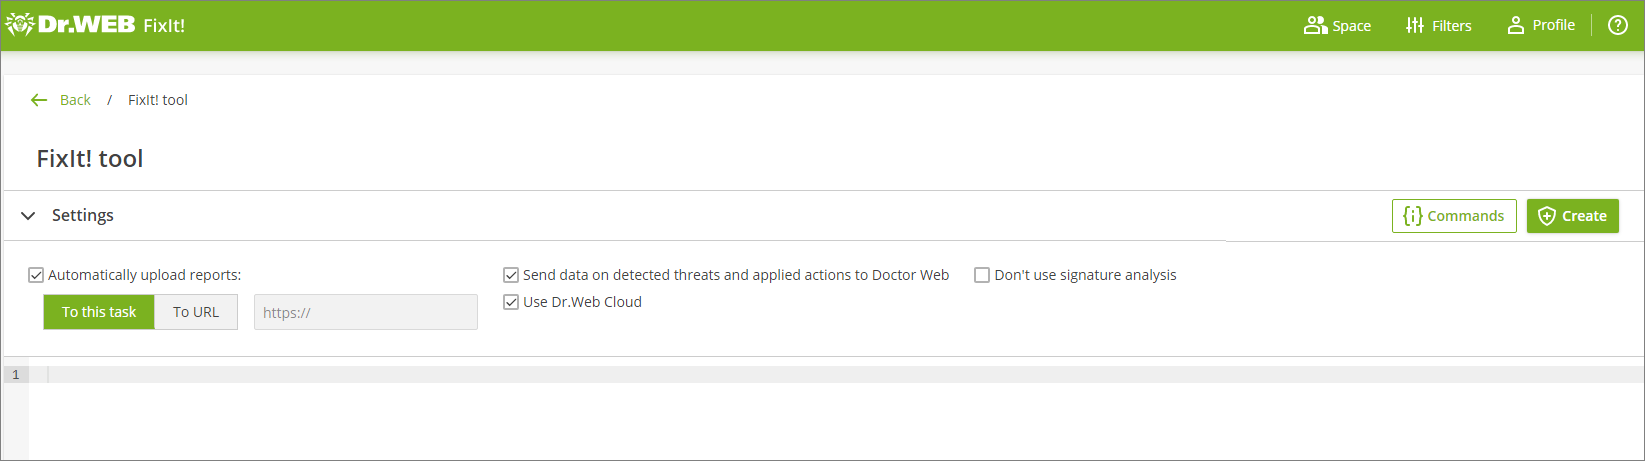
Figure 12. FixIt! tool settings
FixIt! tool commands
You can add data collection commands to the FixIt! tool manually (see Data collection commands).
Command input field is located on the FixIt! tool creation page under the Settings drop-down menu. To view the available command list, click Commands in the right part of the Settings menu.
To create an analyzing FixIt! tool
•If a task does not contain any uploaded reports:
1.Go to the task.
2.Click the Create button.
3.Configure the settings in the Settings drop-down menu.
4.If needed, enter commands to the field under the Settings drop-down menu.
5.Click the Create button.
•If the task contains uploaded reports:
1.Go to the task.
2.Open a report from the list.
3.In the menu on the left, go to the FixIt! tool section.
4.Configure the settings in the Settings drop-down menu.
5.If needed, enter commands to the field under the Settings drop-down menu.
6.Click the Create button.
After the tool has been created, you you will see a pop-up menu that allows you to choose how to send the tool to the user of the scanned computer (see Figure 13).
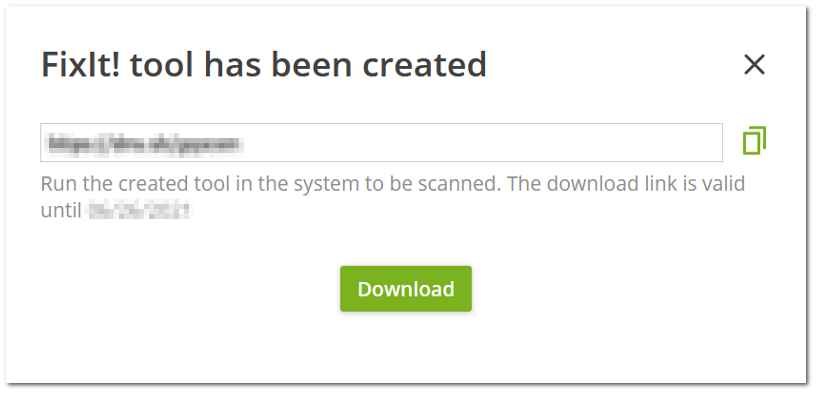
Figure 13. FixIt! tool has been created
•If you want the user of the scanned computer to download the tool, copy the link by clicking the ![]() icon and send it to the user.
icon and send it to the user.
•If you want to save the tool to your computer and send it to the user of the scanned computer, click Download and send the downloaded file.
To collect information about the system, the user needs to run the tool on the scanned computer and send the report created by the tool.